

As a DevOps engineer, it is crucial to master at least one cloud provider. Cloud services simplify storage, data migration, and CI/CD workflows and help make these tasks easier and more efficient.
If you need a basic introduction to cloud computing, here’s a beginner-friendly tutorial for you: What is Cloud Computing? A Guide for Beginners.
In this guide, I’ll show you how to create an AWS EC2 instance. This is one of AWS’s top services for building applications. By the end of this guide, you’ll know how to launch an AWS EC2 instance and connect it to VS Code.
Table of Contents
Prerequisites
Before you start, make sure you have:
-
An AWS account. If you do not have one, sign up here.
-
A GitHub repository with your source code. If you don’t have a GitHub account, sign up here.
-
Basic knowledge of web development and version control.
-
A code editor. For this tutorial, I’m using VS Code.
Let’s jump right in!
What is an AWS EC2 Instance?
AWS EC2 (Elastic Compute Cloud) allows you to run virtual machines in the cloud. These computers allow you to run your applications without needing physical hardware.
There are a number of things you can you do with AWS EC2, such as hosting websites or apps, running big data or machine-learning tasks, creating testing environments, and handling tasks that need flexible, scalable computing power.
Why Connect Your AWS EC2 Instance to VS Code?
Connecting your AWS EC2 instance to VS Code is helpful for several reasons. Before we start the setup process, it’s important to learn why it’s beneficial.
-
Using VS Code provides a familiar and efficient development space. It feels like coding on your own machine.
-
You don’t have to log into your AWS EC2 instance each time. You can edit files, run commands, and debug code from a distance.
-
You can streamline your workflow with built-in terminal access and extensions. This way, you won’t have to switch between SSH clients all the time.
-
You can push changes to GitHub. This makes working together and deploying much smoother.
-
VS Code works well with Java, Node.js, and Python. It supports many languages and frameworks, so it’s great for cloud development.
Now that you understand the benefits, let’s move on to setting up the connection.
How to Launch and Connect Your AWS EC2 Instance to VS Code
To launch an EC2 instance on AWS, just follow these steps:
Step 1: Create an AWS EC2 Instance
First, log into your AWS account. Then, use the search bar to find EC2 and select it.
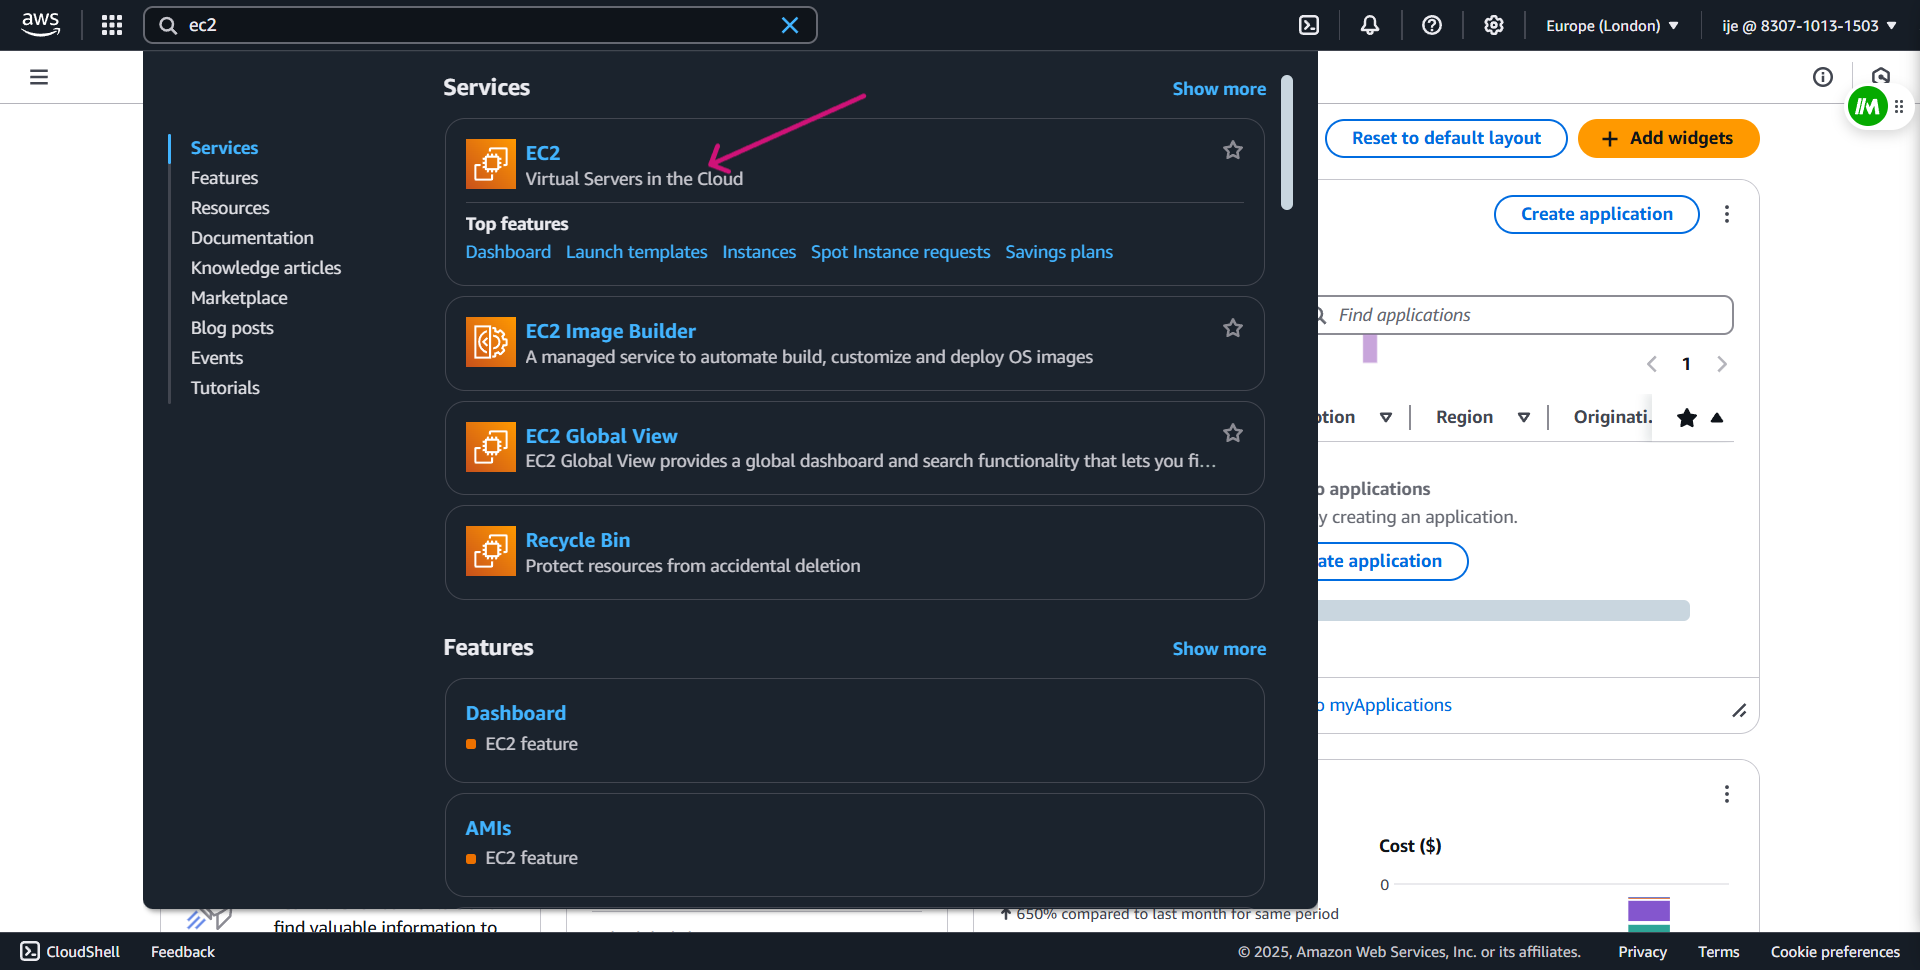
Click EC2 and follow the on-screen instructions to create a new instance.
-
Choose an AMI (Amazon Machine Image): This is a pre-configured template that includes an operating system and may come with additional software.
-
Select an instance type: Pick the right size for your needs. For example,
t2.microis a good option for beginners and small workloads. -
Configure Your EC2 Instance: Set up networking, storage, security groups, and other options based on your requirements.
-
Launch Your Instance: Start your virtual server and access it remotely to begin using it.
Launched instance running:

So what’s happening in Step 1?
By launching an AWS EC2 instance, you are setting up a remote server in the cloud. AWS offers different AMIs that serve as pre-configured environments.
Step 2: Connect the AWS EC2 Instance to Your Code Editor
To connect your EC2 instance created in AWS to your VS Code, you need SSH.
What is SSH?
SSH (Secure Shell) is a secure way to connect and communicate with other devices. It keeps your connection safe. This is important when you access servers or repositories. In Git, you can use SSH instead of HTTPS to clone repositories with a secure connection.
Why is SSH important here?
With SSH, you can link your local code editor (like VS Code) to your AWS EC2 instance. This allows you to work on files stored on the EC2 instance directly from your editor as if on your local computer.
To connect your AWS EC2 instance to your local editor using SSH, follow these steps:
-
Open your terminal.
-
Go to the folder where your
.pemkey file is. The key file (.pem) downloads automatically when you create your EC2 instance (usually in the Downloads folder). -
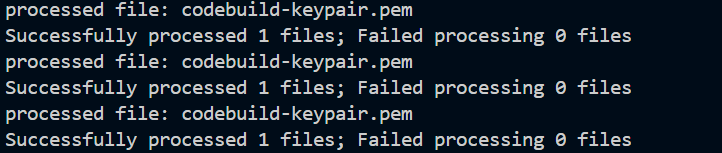
Update the file permissions to keep your key secure and ensure proper authentication.
For Linux users, use this command to update the file permissions:
chmod 400 codebuild-keypair.pem
For Windows users, first you’ll need to find the username of your laptop, as you’ll need it to update the file permissions.
To do this, open your terminal and type:
whoami
This will display your current username.
Once you have your username, use the following command to update the file permissions:
icacls "codebuild-keypair.pem" /reset
icacls "codbuild-keypair.pem" /grant:r "%USERNAME%:R"
icacls "codebuld-keypair.pem" /inheritance:r
Here’s what I mean: My username is ijeon, so you should replace it with your laptop’s username and own key, which ends with .pem extension.

Running this command above updates the file permissions. So with this, you can work with your remote server.
Now that you have set the correct file permissions, you can use the SSH command along with the IPv4 address to connect to our EC2 instance. Type the following command:
ssh -i [PATH TO YOUR .PEM FILE] ec2-user@[YOUR PUBLIC IPV4 DNS]
Example:
ssh -i "C:\Users\ijeon\OneDrive\Desktop\devops-series-nextwork\codebuild-keypair.pem" ec2-user@ec2-35-178-142-201.eu-west-2.compute.amazonaws.
Breaking it down:
-
ssh: This starts a secure remote connection. -
-i "C:\Users\ijeon\...\codebuild-keypair.pem": This tells SSH to use the.pemkey file for secure access. -
ec2-user@ec2-35-178-142-201.eu-west-2.compute.amazonaws.com:
This command logs you into your EC2 instance remotely from your computer. It then uses the key (.pem file) instead of a password for security. It also lets you control the EC2 instance from your terminal as if you were using it directly.
If everything is set up correctly, a “success message” will appear. This confirms that you’ve logged in and can access the remote server.
Step 3: Install the Programming Language
Now that you’ve linked your instance to the editor, you can install the packages needed to build your web app. You can use any programming language you’re comfortable with, but we’ll use Java for this tutorial. This will be a simple web application – we don’t need to go into advanced details.
1. Install Java
In your terminal, run the following commands to install Java:
sudo dnf install -y java-1.8.0-amazon-corretto-devel

export JAVA_HOME=/usr/lib/jvm/java-1.8.0-amazon-corretto.x86_64

export PATH=/usr/lib/jvm/java-1.8.0-amazon-corretto.x86_64/jre/bin/:$PATH
This installs Java on your system. You also need Maven. It helps manage Java projects and create templates for web applications.
2. Install Maven
Maven helps you organize Java projects. It also lets you create templates for web applications. Run these commands to install Maven:
wget https://archive.apache.org/dist/maven/maven-3/3.5.2/binaries/apache-maven-3.5.2-bin.tar.gz

sudo tar -xzf apache-maven-3.5.2-bin.tar.gz -C /opt

echo "export PATH=/opt/apache-maven-3.5.2/bin:$PATH" >> ~/.bashrc

source ~/.bashrc
To confirm Maven’s correct installation, run this command:
mvn -v
Also, run the following command to check whether you have Java installed:
java -version
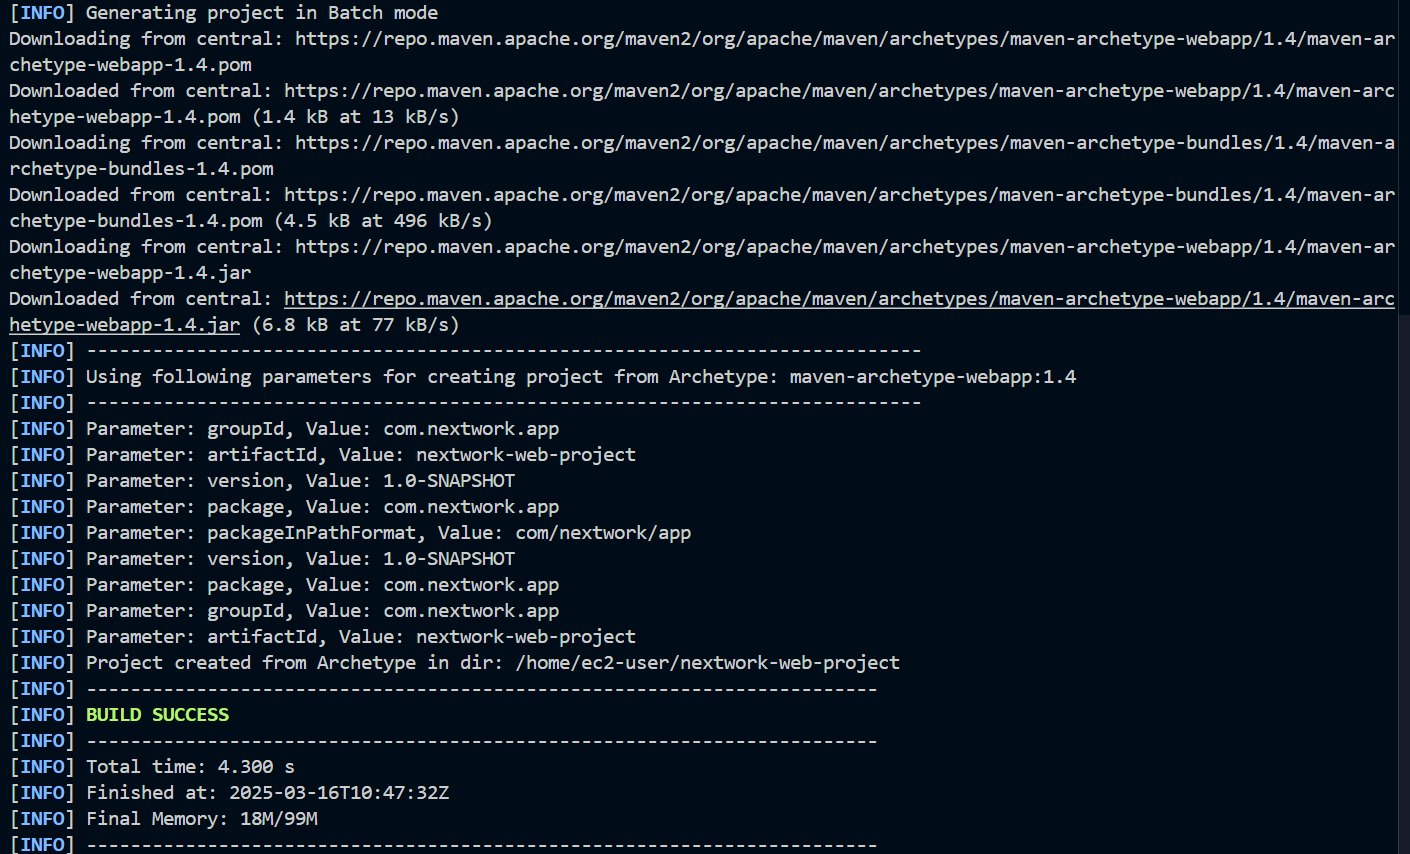
Now that you have installed Maven, you can use it to create a Java web app with the following command:
mvn archetype:generate \
  -DgroupId=com.nextwork.app \
  -DartifactId=nextwork-web-project \
  -Dpackage=com.nextwork.app \
  -DarchetypeArtifactId=maven-archetype-webapp \
  -DarchetypeVersion=1.4 \
  -DinteractiveMode=false
Running the command above generates a template for your application. In the terminal, it should show a “Build Success” message. This means the setup worked.
Step 4: Open a Remote Window
Now that you’ve installed the necessary packages and set up your app template, you need to open your IDE or code editor. This will let you access the folders on your remote server.
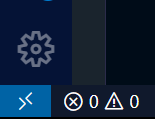
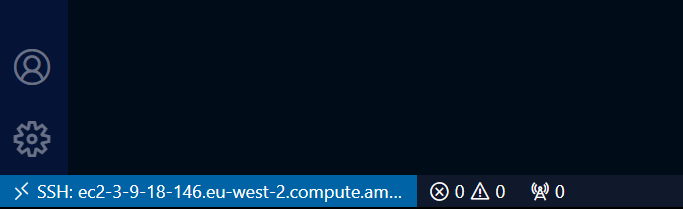
In your terminal, click the double arrow icon at the bottom left.
When you click on it, it opens a modal window for you.
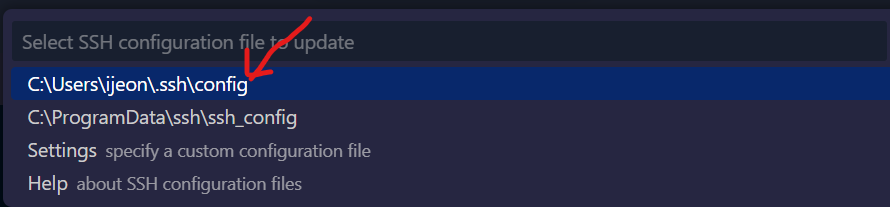
A window will appear. Click “Connect to Host,” which will open another window.
Then choose “Add New SSH Host” to open the SSH connection terminal.
Input your SSH command to configure the host.

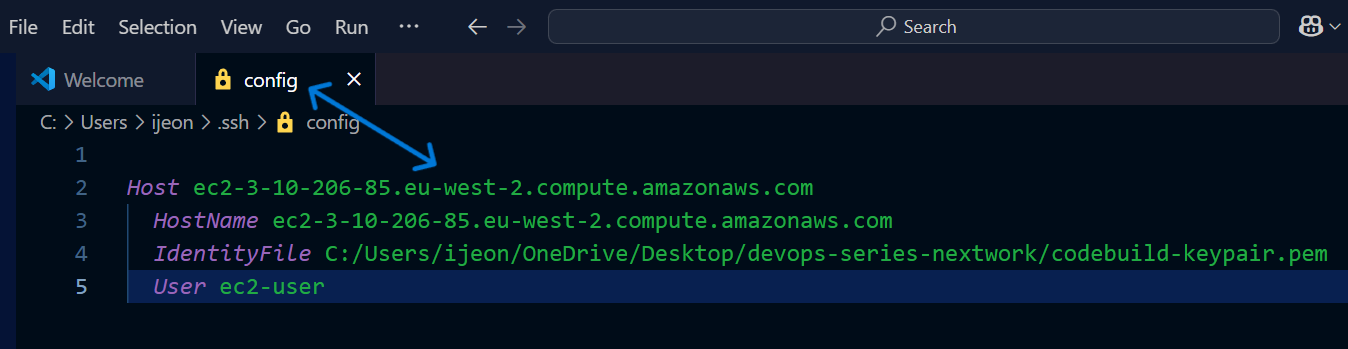
After pressing “Enter,” a configuration file will open. In this file, ensure that the .pem file and the IP4v DNS addresses from your EC2 instance are correct.
Here’s a GIF view of the image above:
Here’s the configuration file:
Go back to your editor and click on that double arrow again. This will automatically open a new window.
If your editor displays the IPv4 DNS address, your VS Code is successfully connected to the EC2 instance.
Now that you’re connected and a new window has opened, let’s access the folder stored in the cloud.
Step 5: Access Your Project Folder
In step 3, remember when you installed Maven? It created a template for your web app. Now, you’ll access the folder where you created this.
-
Go to the Explorer panel in the window.
-
Click the “Open Folder” button.
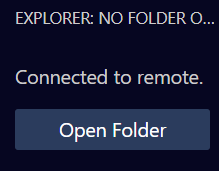
Clicking on this button opens a modal box for you to select your folder, which was created by the Maven template:
To access the template file, click the “src” folder. This takes you to the index.jsp file.
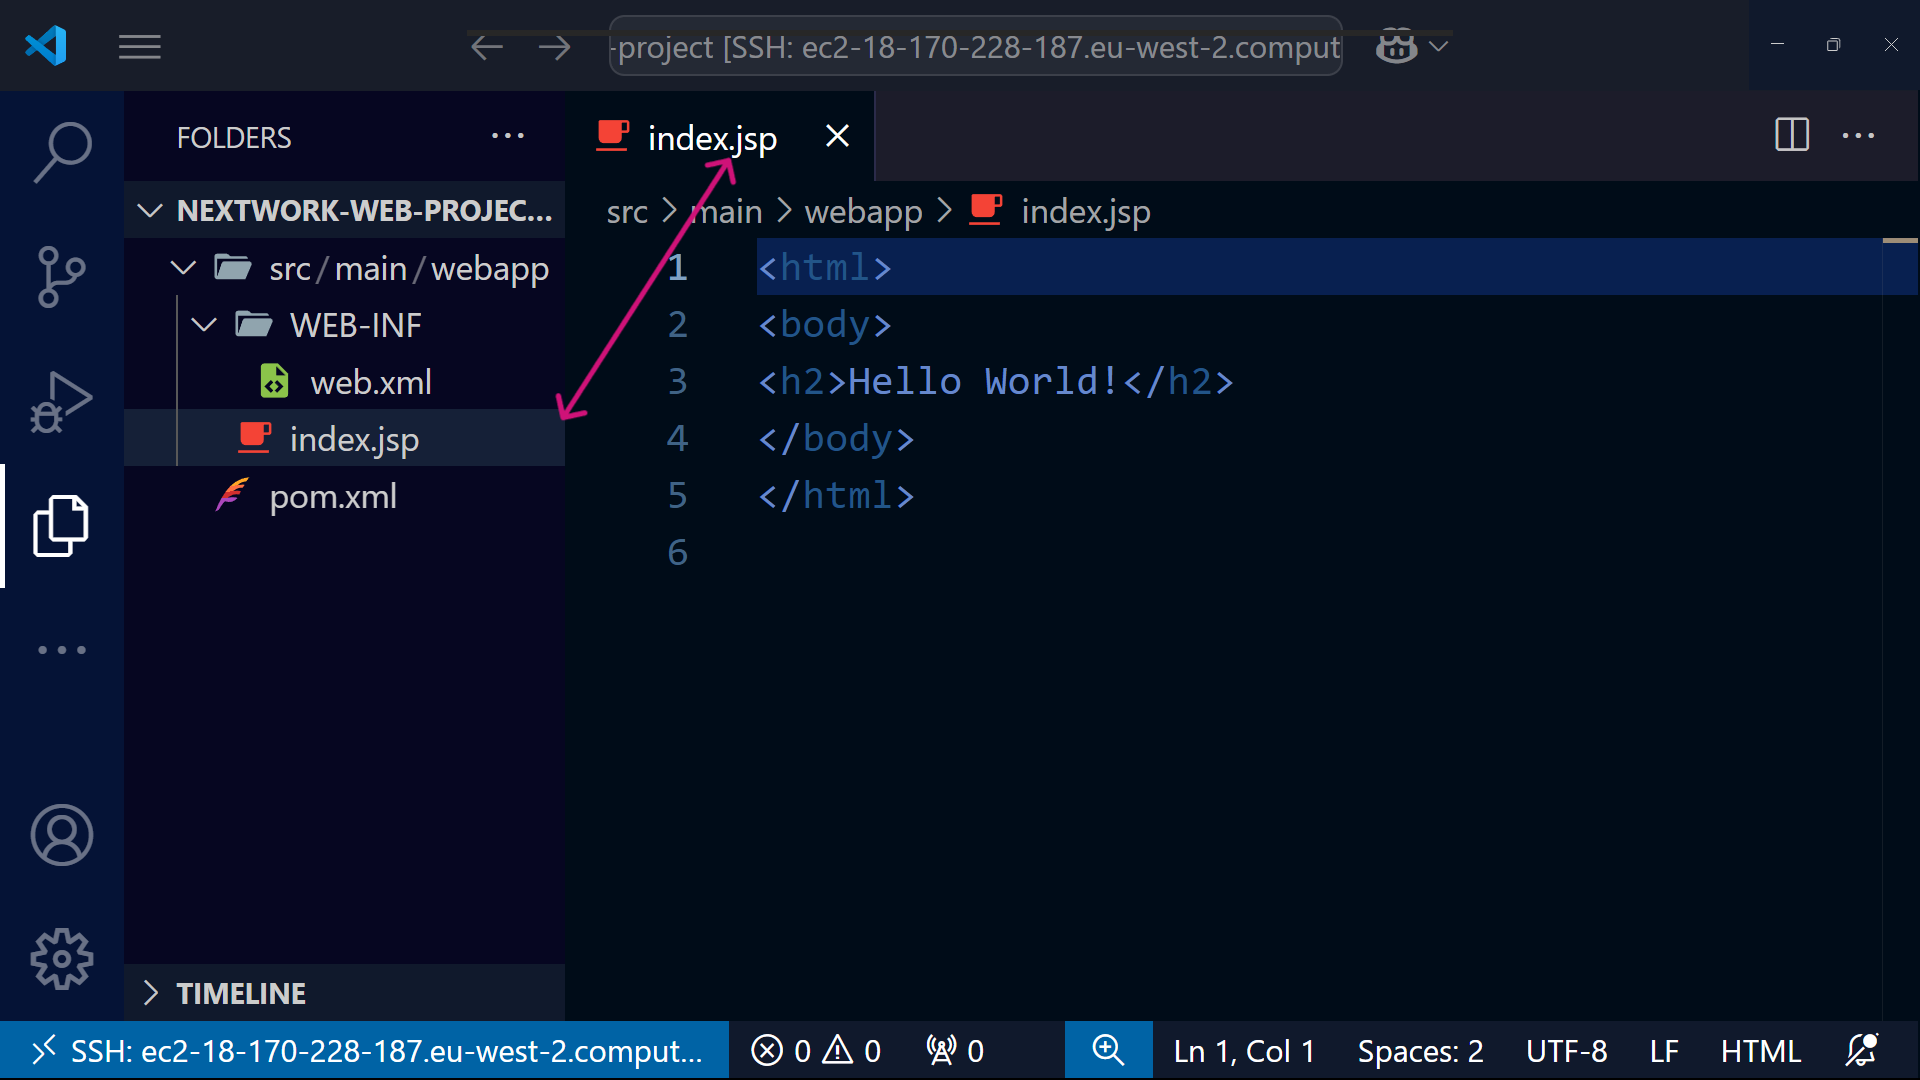
With this template created, you can decide to tweak it and send it to your Git repository for storage.
Conclusion
Great job! You’ve set up an AWS EC2 instance, linked it to your code editor, and installed the tools needed for your web app. In this tutorial, we used Java, but you can also choose other languages like Node.js or Python.
If you found this article helpful, please share it with others who may find it interesting.
Stay updated with my projects by following me on Twitter, LinkedIn and GitHub.
Thank you for reading.